Fortnite Zero Build: win better positions, then win the fight
Improve in Fortnite Zero Build with a landing routine, flexible loadout, cover-based rotations, squad trading, and practical endgame decisions.
Take these into your next session
- Land for a repeatable loot route with an escape, not just a named location.
- Build a loadout around roles and move between pieces of solid cover.
- Choose endgame fights by circle position, exposure, and escape options.
What this guide covers Standard Zero Build Battle Royale fundamentals. Loot, mobility, map locations, and special mechanics change by season; this guide does not assume a current weapon tier list or apply every rule to Reload and other modes.
In Zero Build, good aim helps you finish fights, but your route often decides whether those fights are fair. If you cross an empty field late, the opponent on the ridge gets to shoot first, heal safely, and watch your only escape. No sensitivity setting fixes that position.
This guide focuses on decisions you can repeat across seasons: where to land, what each inventory slot should do, how to move with the storm, and when a promising fight is actually a trap. The objective is to arrive at the final circles with options instead of relying on a spectacular last-second rescue.
1. Choose a landing route, not a favorite roof
A good landing spot offers a sequence: a likely weapon, nearby protection, a second loot source, and an exit. A famous point of interest is not automatically better than a small cluster of buildings. If three squads reach your preferred roof first, forcing the landing turns the match into a scramble for a single item.
During the drop, look around and count nearby players. Track where they are landing, not just how many there are. One opponent on the same roof is an immediate contest; two squads across a valley might give you time to loot. Adjust your final approach while you still can.
Practice two landing routes in the current map. Give each route a primary building, a fallback building, and a way to leave without crossing the busiest part of the area. Your backup should be a genuine alternative, not the next room occupied by the same enemy squad.
The first minute has a simple order: become able to fight, gain basic protection, then improve the loadout. Pick up a usable weapon before sorting inventory. Apply available shields when safe. Listen before entering another building. Chasing a rarer weapon while unprotected is often a worse trade than keeping a common weapon you can use immediately.
Landing drill: play several matches using the same small area. Note where you found cover, which route became contested, and where you could have disengaged. Learn the area deeply enough to make a decision before touching the ground.
2. Give every inventory slot a job
Weapon names, rarities, and balance change. Roles remain useful. You need an answer to close pressure, an answer at a practical medium range, recovery supplies, and a way to improve position if the current loot pool provides one. The exact combination depends on what you find and your team’s needs.
| Role | What you want it to solve | A common inventory mistake |
|---|---|---|
| Close-range damage | Someone reaches your cover or pushes a doorway | Carrying only scoped weapons that are awkward up close. |
| Medium-range pressure | Punishing a crossing or supporting a teammate | Taking a weapon you cannot control just because it is rarer. |
| Mobility or repositioning | Escaping exposure or reaching a better angle | Spending every charge on travel before the circle becomes dangerous. |
| Shield recovery | Returning to a fight after taking shield damage | Assuming a defensive regeneration mechanic replaces carried shields. |
| Health or flexible utility | Recovering health, extra team sustain, or a specific tactical use | Duplicating a role while the squad lacks basic healing. |
This is a template, not a rule that all five roles must occupy separate slots. Some items cover more than one need, and a season may offer different options. Two close-range weapons can be useful if you know why you are carrying both; three nearly identical weapons usually leave an avoidable gap.
In standard Zero Build, Overshield supplies a rechargeable defensive buffer after you avoid damage for a period. It does not mean your normal health and shields are fully restored. After a trade, check all of your defensive resources before re-engaging. Also verify the rules of the actual mode you selected: similarly named playlists can differ.
Sort your inventory consistently once you are safe. The best loadout is less helpful if you pull out a healing item during a close-range duel. Choose slots or controller habits you can repeat under pressure.
3. Treat solid cover as part of your loadout
Cover stops bullets. Concealment makes you harder to see. A wall, a rock, and a patch of foliage can all interrupt an opponent’s view, but they do not offer the same protection. Before committing to a fight, identify what will actually block incoming fire and whether it can be destroyed.
Fight near an edge you can retreat behind. Expose only what you need to see and shoot, then break line of sight while reloading or healing. A third-person camera can help you gather information around cover, but an angle that looks safe through the camera can still expose your character. Judge the position by the body, not only the reticle.
Avoid standing on top of the highest object simply because it offers the widest view. Height is valuable when it gives useful sightlines and an escape. A bare rooftop silhouetted against the sky can invite fire from several teams. A slightly lower position with hard cover and a route to the next circle may be stronger.
Change your peek after an enemy has established a clear angle. Reappearing at the same edge, same height, and same rhythm gives them an easy prediction. You can delay, change the side, use another piece of cover, or disengage. Repeating a losing peek is not pressure.
4. Rotate before the storm forces your route
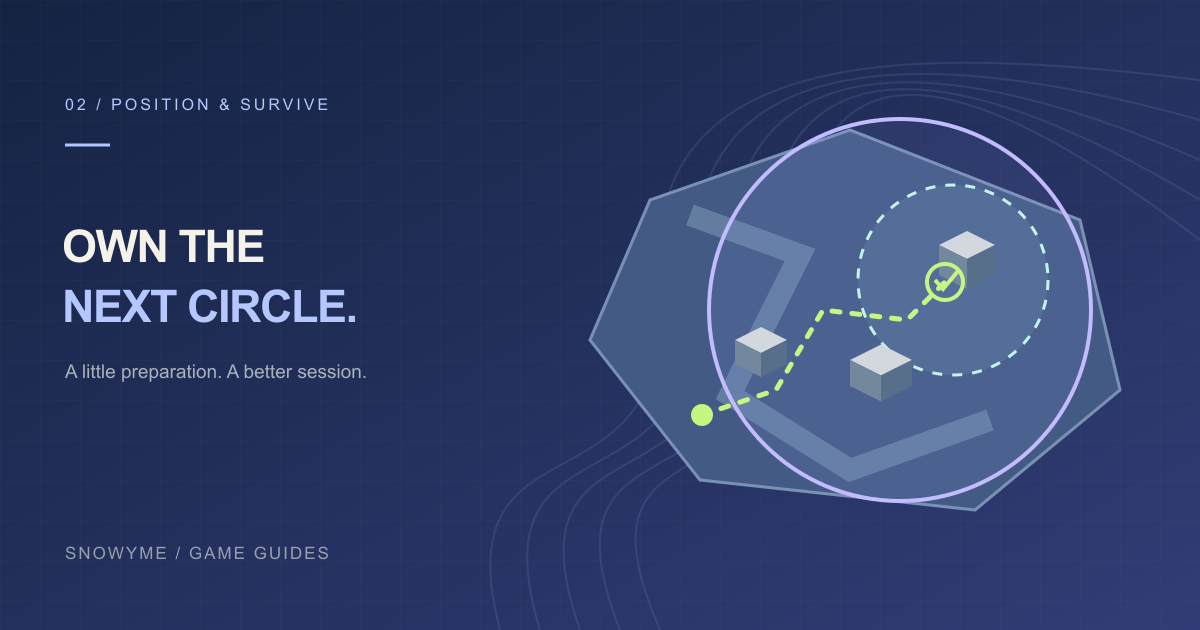
When a new safe zone appears, pause and compare your position with the terrain. The shortest line on the map is not always the safest. Look for a chain of buildings, rocks, ridges, or depressions that breaks line of sight. Plan the next two pieces of cover rather than running until someone shoots.
Use the available information to choose an early or later rotation. If your route crosses open ground or a narrow passage, leave earlier. If you already hold strong cover and have a reliable exit, you may have time to loot or gather information. Waiting until the storm touches you removes choices and makes healing, fighting, and navigating happen at once.
Consider this example: your squad is west of the next circle, and a team occupies a hill directly east. The straight route saves distance but crosses their view. A shallow valley to the southeast adds travel but offers breaks in sightline. If you have time, the valley can preserve shields and mobility for the next fight. If you waited too long, you might be forced to spend those resources just to survive the crossing.
Avoid turning “rotate along the edge” into an absolute rule. An edge route can reduce threats from one side, but a late arrival may face teams already holding the safe zone. Center positions can offer future circle access but attract attention. Choose based on terrain, information, and the resources you have.
5. Decide whether a fight has a useful outcome
Before firing, ask three questions: can we finish this, can we survive the response, and what position will we occupy afterward? A distant hit may feel productive while revealing your location and consuming the time you needed to rotate.
Take fights where you have a specific advantage: a better angle, an isolated opponent, synchronized damage from your team, or enemies who must cross an exposed route. If the only advantage is “we saw them first,” verify that your squad can actually follow up before opening fire.
When two other teams fight, a third-party attack can be effective, but approach with an exit in mind. Do not jump into the middle of both teams because you heard a knock. Locate the surviving players, watch for other approaching teams, and take a position that lets you stop participating if the fight changes.
After gaining a knock, reassess instead of sprinting automatically. Their teammate may be holding the exact approach you are about to take. A safe angle that denies the revive can be more useful than an immediate chase. If the storm is closing, even an unfinished fight may need to end with a rotation.
6. Squads: stay close enough to help, far enough to create angles
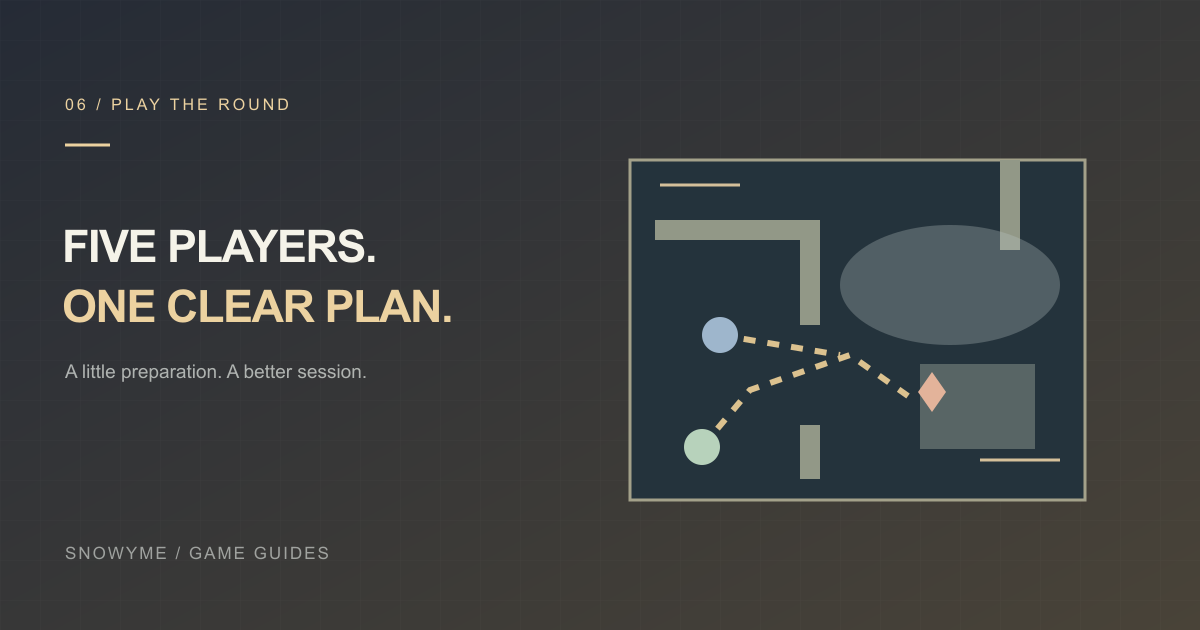
Good spacing means you can trade damage quickly without every player standing behind the same tiny rock. If one teammate is pressured, the others should have a way to punish the attacker. If everyone is separated by multiple buildings, the squad is effectively taking several solo fights.
Use short callouts that include position and intention: “Two at the red building; I am holding the left exit,” or “I need to heal; watch the ridge.” A damage number without a location does not give teammates an action. Ping first when words would take too long.
Agree on who is moving before using mobility to initiate. One player launching forward while the rest are healing is not a coordinated push. Either arrive together, establish overlapping angles, or clearly designate someone to hold the escape route.
Revive only when the situation permits it. First remove the immediate angle, force the enemy back, or reposition the downed teammate if possible. Repeatedly starting a revive under direct pressure can turn one loss into two. Recovery is valuable, but the squad needs someone alive to complete it.
7. Endgame: preserve choices until the last duel
In a small circle, position changes value quickly. A building that was excellent one minute ago can become a trap when the next zone pulls away. Recheck your exit every time the safe area updates. Keep enough mobility or sprint capacity to move when the route opens.
Reload and heal during genuine gaps rather than after the next fight has already started. Keep track of nearby enemies and listen for movement before opening an inventory or replacing a weapon. A slightly better item on an exposed loot pile is rarely worth losing your protected position.
If several players remain, avoid spending all your resources finishing an opponent who poses no immediate threat. Another player may be waiting for the winner to emerge damaged. When you can, let an enemy expose themselves by moving first, then take a controlled shot from cover.
There is no universal command to “always take height” or “always stay hidden.” You may need to pressure the player holding your next rotation, or move before a stronger position becomes occupied. The decision is useful when you can explain what it buys: safer zone access, fewer enemy angles, or a clear final duel.
8. A focused 30-minute improvement routine
Spend the first five minutes practicing the weapons you actually expect to use in an appropriate practice environment. Work on acquiring a target, controlling short bursts, and switching between close- and medium-range options. Keep sensitivity stable long enough to evaluate it.
Use the next matches to practice one decision, such as leaving before a rotation becomes urgent. Record the cause of each elimination in a short sentence: “crossed without cover,” “pushed before the team,” or “re-peeked while damaged.” These labels give you something specific to fix.
Finish by choosing one adjustment for the next session. If three deaths came from open crossings, extra aim training is not the first answer. If you consistently reached cover but lost fair duels, weapon practice becomes a better investment. Judge improvement by better decisions and more playable fights, not by expecting a win every session.
Frequently asked questions
Should I hot-drop to improve faster?
Occasional contested drops can teach quick looting and close fights. Dropping into an area so crowded that you rarely find a weapon mostly teaches you to requeue. Use a location with one manageable contest and a fallback route, then increase the pressure as your opening routine improves.
Is the highest-rarity weapon always the best choice?
No. Rarity matters, but range, ammunition, handling, and your other inventory slots matter too. A familiar medium-range weapon can be more useful than a rarer item that leaves your loadout without an answer to the next likely fight.
Why do I keep losing after winning a fight?
The fight may have left you exposed, low on recovery, or late to the circle. Move to cover, check for another team, reload, and heal before treating the loot as safe. Review the position you chose to finish from, not only the shots that won the duel.
Sources & version notes
Use these references alongside the guide to check changing rules, availability, and update details. Community-maintained references are identified below. Strategy examples above are Snowyme's editorial guidance.
- Fortnite Zero Build ↗
Official overview of the Zero Build mode.
- Fortnite News ↗
Check current loot, map, and mode changes before applying season-specific advice.
An independent guide by Snowyme. Not affiliated with or endorsed by the game's publisher. Cover artwork is an original strategy illustration, not an in-game screenshot.